Enhancing WordPress Performance with PHP Max Input Variables
WordPress website administrators who have implemented intricate themes, plugins, configurations, or forms have likely encountered the “max input vars” error at some point during their journey.
One of the remarkable features of WordPress as a content management system is its ability to seamlessly process all the data associated with your website in the background. In fact, for your website to operate smoothly and efficiently, it must handle a substantial volume of data and information simultaneously.
However, in order to forestall potential issues, WordPress imposes a predefined limit on the total number of input variables that it can concurrently manage. This prescribed boundary is commonly known as “max input vars.”
As you approach this predefined threshold, you’ll receive a cautionary notification within the dashboard, which reads as follows:
“Your website is nearing the limit for post variables specified by your server configuration. Please consider increasing the ‘max_input_vars’ directive in your ‘php.ini’ file.”
This message is essentially the system’s way of signaling that you are supplying it with more data than it can presently handle. Ignoring this warning could have adverse consequences. If you proceed without making necessary adjustments, your website may start experiencing malfunctions.
Monitoring the Health of Your WordPress Site
To ensure the proper functioning and efficiency of your WordPress site, regular health checks are critical. These checks allow you to monitor and mitigate any potential issues that may impact site performance and user experience. Here’s how you can perform a comprehensive analysis of your site’s health:
Navigating to the Site Health Tool
From your WordPress dashboard, proceed to the ‘Tools’ section. Here, you would find an array of useful tools, one of which is the ‘Site Health’ feature. Click on it to proceed.
Delving Into Server Information
Once you’re in the Site Health section, you will see multiple tabs. Click on the ‘Info’ tab to access numerous WordPress details. This information is further broken down into various sections, with ‘Server’ being one of them.
Assessing PHP Parameters
In the ‘Server’ drop-down, lookout for two essential PHP parameters – ‘PHP max input variables’ and ‘PHP time limit’. These variables are crucial for your website’s performance.
‘PHP max input variables’ determines the maximum number of variable names that PHP can accept, while ‘PHP time limit’ sets the maximum time in seconds that a script is allowed to run before it is terminated by the parser.
Deciphering Error Messages
Typically, if your website is operating within the specified limits for these parameters, no error message will be displayed. However, if any issues are encountered, a succinct error message will appear next to the offending specification.
The error message will explicitly state that the current value is insufficient and will stipulate the updated value you need to adjust these specifications to meet your theme’s requirements.
To avoid compromising the user experience, understanding your site’s PHP parameters and promptly addressing any indicated issues is crucial. With the aforementioned steps, not only can you regularly monitor your website’s health, but also take timely action to rectify any identified issues.
Updating the “.user.ini” File in WordPress: A Comprehensive Guide
The “.user.ini” file in your WordPress installation holds the key to fine-tuning your site’s PHP settings. This powerful tool allows you to optimize your website’s performance and resolve potential issues. In this comprehensive guide, we will walk you through the process of updating this critical file, ensuring that your WordPress site runs smoothly.
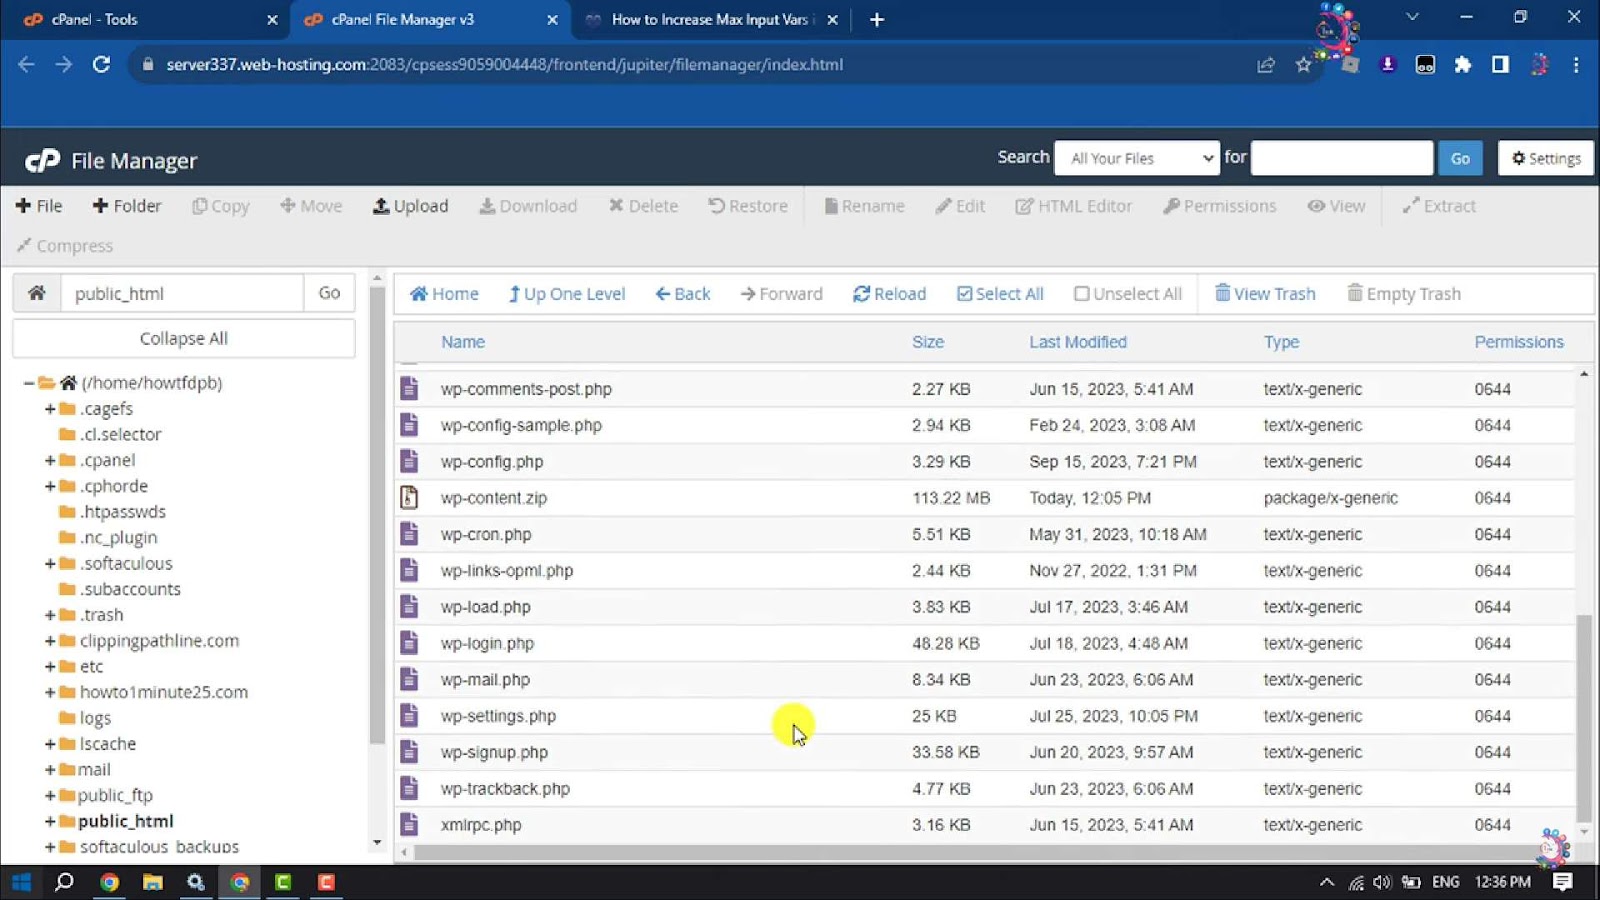
Accessing WordPress File Manager
Before you embark on this journey, you need to access your WordPress File Manager. Here are two methods to get there:
Method 1: Through cPanel
- Log in to your cPanel, either directly or via your web hosting provider’s portal.
- Once inside cPanel, locate and select the “File Manager” option.
Method 2: Using the WP File Manager Plugin
- Alternatively, you can simplify the process by downloading and installing the WP File Manager plugin. This user-friendly plugin integrates seamlessly with your WordPress dashboard;
- Locating the “.user.ini” File;
- With File Manager open, your next step is to locate the elusive “.user.ini” file within your website’s root folder. This file is the gateway to adjusting your site’s PHP settings. Follow these steps;
- In the File Manager, navigate to your website’s root folder;
- Within this folder, search for the “.user.ini” file. If you can’t find it, don’t fret – we’ve got a solution for that too.
Creating a New “.user.ini” File
- If the “.user.ini” file is missing, you can create a new one by selecting the “Create New File” option in your File Manager;
- Name the new file as “.user.ini.”;
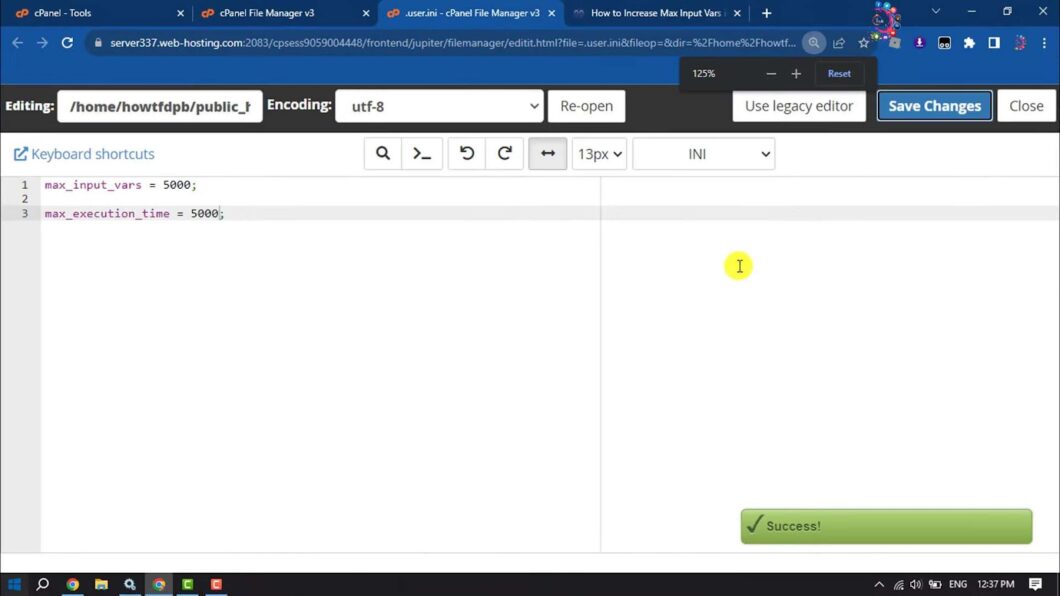
- Editing the “.user.ini” File;
- Now that you’ve located or created the “.user.ini” file, it’s time to make the necessary edits. Follow these steps carefully:
- Right-click on the “.user.ini” file;
- From the drop-down menu, select either “Edit” or “Code Editor,” depending on your preference.
In the code editor, you will paste two essential lines of code that dictate PHP settings:
max_input_vars = XXXX;
max_execution_time = XXXX;
Pro Tips:
- Replace “XXXX” with the actual values recommended by your Server Site Health page;
- For instance, if your Server Site Health recommends a maximum PHP input variable count of 5000, your code should look like this: max_input_vars = 5000;.
Saving Changes and Verifying
With the edits made, it’s time to save your changes and verify that the error messages are gone. Here’s how:
- Click “Save Changes” within the code editor;
- Return to your WordPress Server Site Health dashboard;
- To ensure that the error messages have vanished and your issue is resolved, refresh the page.
Another Potential Solution: Modifying the “wp-config.php” File
Sometimes, the solutions proposed may not work. If you’re in such a situation, don’t worry; there is another potential solution for you. Similar to the adjustments made to the “.htaccess” file, there is a possibility of editing your “wp-config.php” file to rectify any PHP setting issues.
Like earlier, navigate to the “wp-config.php” file in your File Manager, ensure you’ve downloaded a backup, and proceed to the code editor. This time, you’ll be inputting the following lines of code:
@ini_set( 'max_input_vars', XXXX);
set_time_limit(XXXX);
Remember to replace “XXXX” with the recommended values that your WordPress Server Site Health page suggests. Save your changes and check your Site Health page again to see if these changes have resolved the errors.
If Issues Persist: Get in Touch with Your Hosting Provider
Should the PHP setting issues persist even after implementing the above-mentioned solutions, it’s advisable to contact your web hosting provider’s customer service.
Typically, most hosting providers allow users to adjust the PHP specifications of their websites. However, some might restrict these modifications. If you’ve tried to edit each of these files (“.user.ini”, “.htaccess”, “wp-config.php”) and are still experiencing issues, it’s likely you may need assistance from your hosting provider.
Reach out to them and explain the issue in detail. Request their intervention in making the necessary modifications to the PHP max input variables and PHP time limit on your hosting environment.
Maintaining open communication channels with your web host can be pivotal when encountering complicated and persistent website issues. They have the expertise to provide tailored solutions based on your unique hosting environment, thereby ensuring your WordPress site remains optimally functional and user-friendly. Also, discover solutions to make your WordPress widget appear! Uncover the mystery of ‘WordPress widget not showing‘ in this helpful guide.
Conclusion
The majority of individuals utilizing WordPress and encountering the maximum input variables error can typically address the issue by making modifications to their site’s .user.ini file. Nevertheless, it is important to acknowledge that this particular approach may not effectively rectify the problem for all users. In certain cases, individuals may find it necessary to experiment with revising their .htaccess or wp-config.php files as an alternative solution.
In the event that none of these file modifications yield the desired results, the final recourse entails reaching out to your hosting provider. You should contact them and request their assistance in making the required adjustments on your behalf.


