Optimizing Your WordPress Logo Size for Impactful Websites
For website owners aiming to establish a recognizable and trustworthy brand in their market, possessing a high-quality, well-proportioned logo is a fundamental necessity. Surprisingly, despite the ease with which this can be achieved, numerous homepages still exhibit logos with less-than-ideal dimensions.
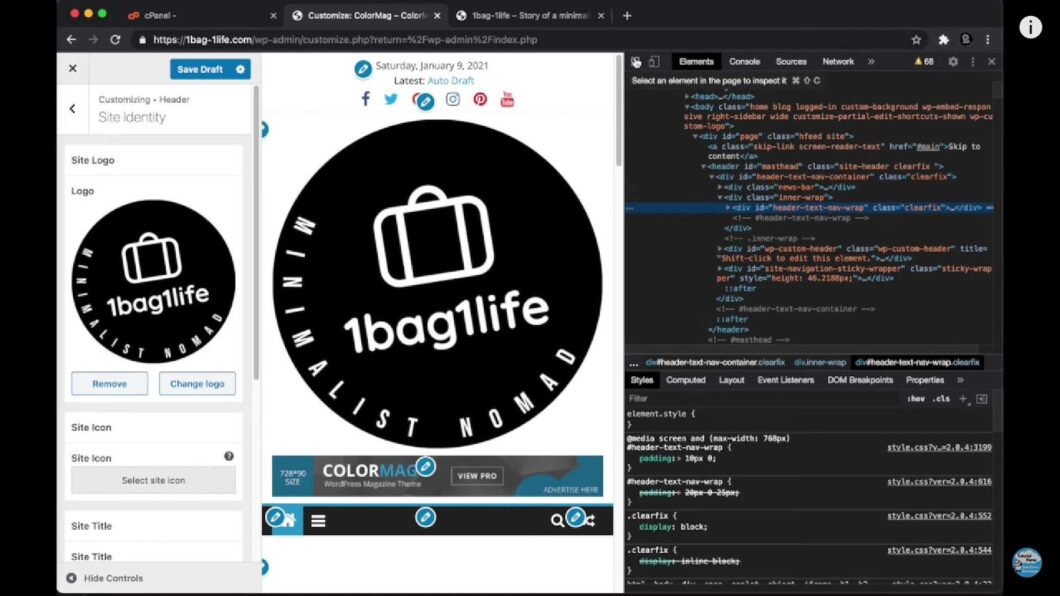
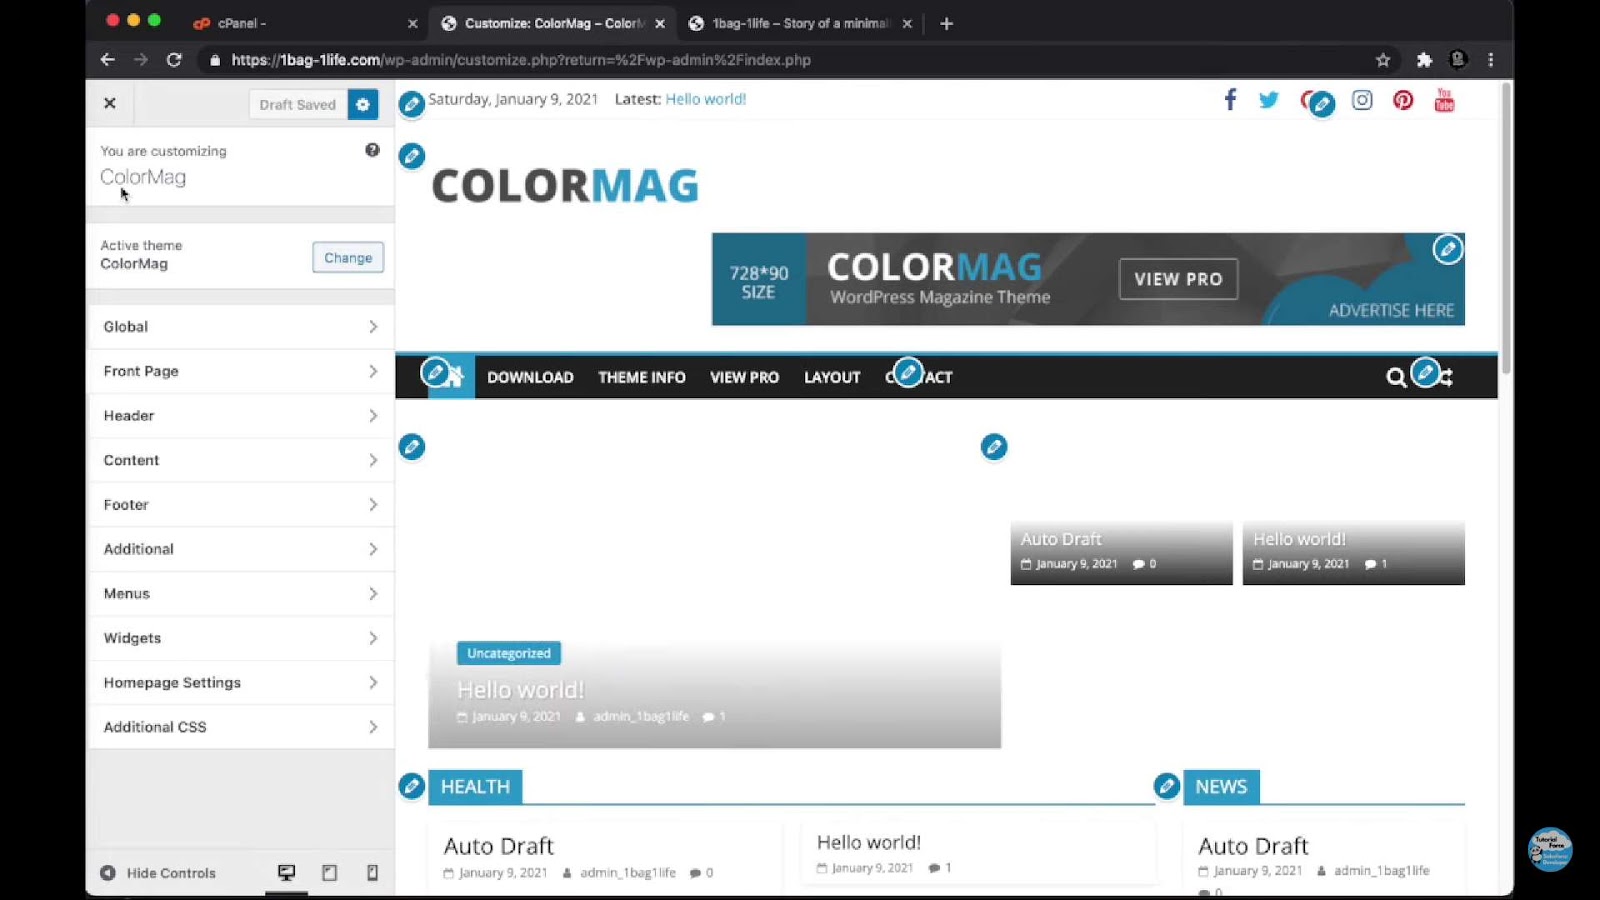
The ideal size for a logo, especially in WordPress, is often determined by the chosen theme. To find out the recommended size for your site, you can go to the WordPress dashboard, select ‘Appearance’, then ‘Customize’, and finally ‘Site Identity’. If the theme doesn’t suggest specific dimensions, a logo measuring around 250 x 100 pixels is usually a safe bet.
In the following sections, I will present the advised logo sizes for several widely-used WordPress themes. Additionally, I will describe two straightforward techniques to adjust the display size of your logo, ensuring it aligns perfectly with your site’s aesthetic.
WordPress Logo Size: The Best Practices for Popular Themes
When selecting the ideal logo size for your WordPress website, it’s crucial to understand that there isn’t a one-size-fits-all answer. Different website themes may require different logo sizes, and these sizes may vary based on developer recommendations, default settings, or the maximum permitted dimensions.
Below is a guide to ideal logo dimensions (expressed as width x height in pixels) for some of the most widely used WordPress themes.
| Theme | Dimensions (Width x Height) |
|---|---|
| GeneratePress | 250 x 50 pixels |
| Neve | 200 x 50 pixels |
| Divi | 93 x 43 pixels |
| Ocean WP | 164 x 45 pixels |
| Storefront | 470 x 110 pixels |
| Astra | 180 x 60 pixels |
| Spencer | 116 x 23 pixels |
| Elegant | 250 x 150 pixels |
It’s important to note that in many cases, if the ideal size isn’t provided, the theme may automatically adjust your logo to suit the header’s proportions. However, don’t rely on this automated feature alone to assure a stylish and professional website appearance.
Achieving Optimal Logo Display – A Step by Step Guide
- Selection: Start by selecting an initial display size from the list of your theme’s suggested dimensions;
- Assessment: Review your logo on different devices such as desktops, mobile phones, and tablets;
- Evaluation: If your logo looks distorted, disproportionately small or large, or simply not up to your expectations, it’s time to adjust the size;
- Modification: Keep tweaking the display size until you attain an appealing look that matches the overall website design.
Remember, creating a visually pleasing website is a process. Patience, coupled with a bit of trial and error, will ensure the logo enhances your site’s aesthetic appeal and user experience.
Adjusting Your WordPress Logo Display Size
Understanding the difference between your logo’s file size and its display size is key when designing your WordPress website. Often, people mistakenly think they’re the same, but this isn’t the case.
The display size refers to the space your logo occupies on your website, while the file size indicates the logo’s physical storage size on your server or device.
To ensure your logo is clear, crisp, and optimized, it’s advisable to upload an image file twice the size of your desired display size. For instance, if your targeted display size is 250 x 100px, consider uploading a file of 500 x 200px. This approach helps prevent pixelation and blurriness.
Here are some tips to ensure your logo looks professional and high-quality:
- Use high-resolution images: This prevents your logo from appearing blurry or pixelated;
- Consider retina-ready logos: These are especially useful for users on Apple devices with Retina Displays as they enhance logo crispness and clarity;
- Test different sizes: Try different file and display sizes to find what works best for your website’s layout and design.
Remember, the goal is to enhance your website’s visual appeal and user experience by showcasing your logo in its best light. Always take the time to tweak and test different file sizes, themes, and display options until you land on a solution that represents your brand identity effectively.
By taking these steps, the aesthetic quality of your website will undoubtedly impress your site’s visitors, enhancing their overall user experience.
A Guide to Adjusting Your WordPress Logo Display Size
Changing your WordPress logo display size can be done swiftly using built-in theme editor tools. Here’s a simple and step-by-step guide on how to do it:
Step 1: Access Your Theme Editor
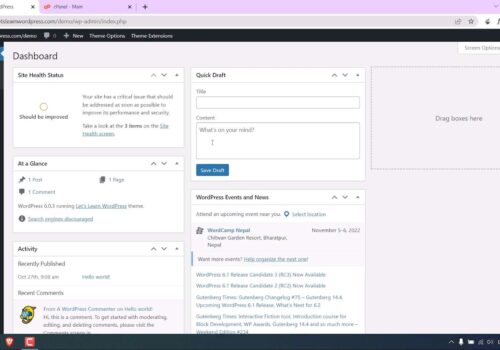
Start by navigating your WordPress dashboard. Select the ‘Appearance’ tab and then click on ‘Customize’. You should then see the ‘Site Identity’ option. Do note that, depending on your theme, the ‘Site Identity’ option might be listed under ‘Header’ or ‘Site Title & Logo’.
Step 2: Upload Your Logo
If you’ve not uploaded your high-quality logo, you can do it now. Click on ‘Change logo’ and upload the image from your device.
Ensure to have an image that is twice the size of your targeted display size. For instance, if you’re targeting a display size of 100 x 50px, upload an image of 200 x 100px. This ensures a clear and sharp logo display.
Some premium themes, such as GeneratePress, offer a ‘Retina Logo’ upload option. This feature allows for a sharper logo display on Apple devices with Retina screens. If your image size is twice your targeted display size, you can use the same image for both the standard logo and the Retina logo.
Step 3: Adjust Your Logo Display Size
Once your logo is uploaded, you can adjust the display width. Most themes provide a slider or a numeric field to set the desired width.
Don’t worry about adjusting the height. Most themes secure the aspect ratio, thus maintaining the original proportions of your logo. This prevents your logo from distortion, preserving its original design as you meant it to be.
Observing these guidelines will ensure your logo enhances your WordPress site’s look and feel, contributing positively to the overall site aesthetics and user experience.
Adjusting WordPress Logo Display Size Using CSS
If your WordPress theme doesn’t offer built-in logo size adjustments, there’s no need to worry. You can quickly modify the logo dimensions using the ‘Additional CSS’ method. Here’s a simple, step-by-step guide to do just that:

Step 1: Identify the CSS Class of Your Logo
Navigate to your WordPress homepage, right-click anywhere on the screen, and choose ‘Inspect’. A pop-up window with code lines will appear.
Find the cursor icon located at the top-left corner of this window and click it. Now, if you move your cursor over your site’s logo, the ‘Inspect’ window will highlight the logo’s CSS class. Make a note of this class name, as you’ll need it in the next steps.
Step 2: Add Custom CSS
Return to your WordPress dashboard, select ‘Appearance’, then ‘Customize’, and finally, ‘Additional CSS’. You’ll now see an open field where you can add custom CSS code.
Copy and paste the following code snippet into the field:
img.is-logo-image {
    max-height: 100px !important;
}
Remember to replace “img.is-logo-image” with the CSS class name you identified in Step 1.
Step 3: Save and Publish
Once you’ve added the above code, click ‘Publish’ to save your changes.
Remember, this process isn’t always perfect on the first attempt, so consider doing some testing. Adjust the 100px value gradually until you’re satisfied with how your logo looks.
This method allows you to tweak your logo’s display size, even if your theme doesn’t support built-in adjustments. This way, you maintain control over your site’s appearance and ensure a consistent, professional look.
Conclusion
Numerous well-known WordPress themes suggest a specific or default logo size, serving as a guideline for your website’s design.
In the absence of specific size recommendations from your chosen theme, initiate with a logo size of 250 x 100 pixels. This can serve as a starting point for any necessary modifications.
Most themes provide the flexibility to modify the logo size directly within the theme customizer. If this feature isn’t available, you have the option to implement custom CSS code on your website to achieve the desired adjustment.
It’s important to remember that, irrespective of the chosen display size, you should upload a logo image with dimensions at least double the display size for optimal clarity and quality.


